Make your own Kite
- Preschool Market

- Jan 17, 2022
- 2 min read
There are many health benefits for you and your child when it comes to kite flying. Not only it is a great way to clear your minds and have fun outdoors, but it also keeps your child’s brain active.
Improve Mood and Overall Well-Being
Heading outdoors is already an option when it comes to improving mental health. Add another kite flying activity into the mix and you be finding yourself focused on the kite drifting across an endless blue sky, and not on the daily stresses of life.
Eye stimulation
The constant use of electronics is not good for you and your child’s eyes. Focusing on the distant kite can reduce eye strain, fight eye fatigue and may even improve your vision.
Improves Creativity
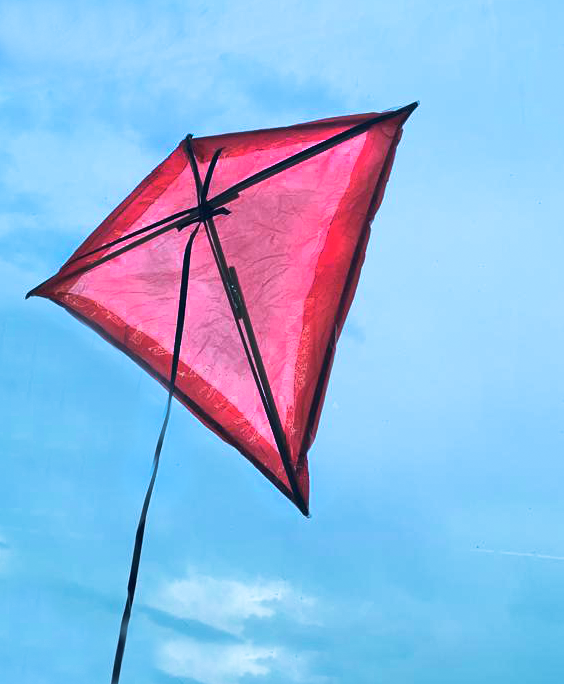
Kite flying can be a chance for you to encourage your child’s creativity. You can have your child show off their creative skills when they get to design their own kite. This is when our DIY kit handmade from recyclables comes in to fit the bill!
Come and check out the steps below now! ->>

Skill Level: Advanced
Suitable For: 5- 7 years old
Estimated Time: 30 mins
Environment: Indoors

Materials needed:
Scissors
Tape
2 Pairs of Chopsticks
Ribbon Strings
Plastic Bag
How to make the kite?

Step 1: Take a pair of chopsticks and place them on top of each other
Step 2: Next, wound the tape around the pair of chopsticks.
Step 3: Repeat steps 1-2 for the other pair of chopsticks.

Step 4: Arrange them in a manner such as they resemble a diamond shape.

Step 5: Tie a string around where the chopsticks intersect to secure the frame.

Step 6: Next, use the string to create an outline of the kite around the frame. Start by taping the string to the bottom of the frame. Use the string to create a tight line to the end of the next chopstick.

Step 7: Repeat the process until the shape is entirely outlined.
Step 8: Repeat the process until the shape is entirely outlined.
Step 9: Lay the frame on the plastic bag and use markers to draw an outline of the kite.

Step 10: Follow the outline and cut the plastic bag.

Step 11: Starting on one side, fold the excess plastic and secure it with tape. Ensure that the side is secured with tape to prevent wind from coming in between the layers.
Step 12: Repeat until all edges are secured.
Step 13: Cut two strings around 40cm and glue them onto the chopsticks both horizontally and vertically.

Step 14: Tie another spool of string where both strings intersect. You will use it to fly your kite.

Final Step: Decorate your kite!


Comments